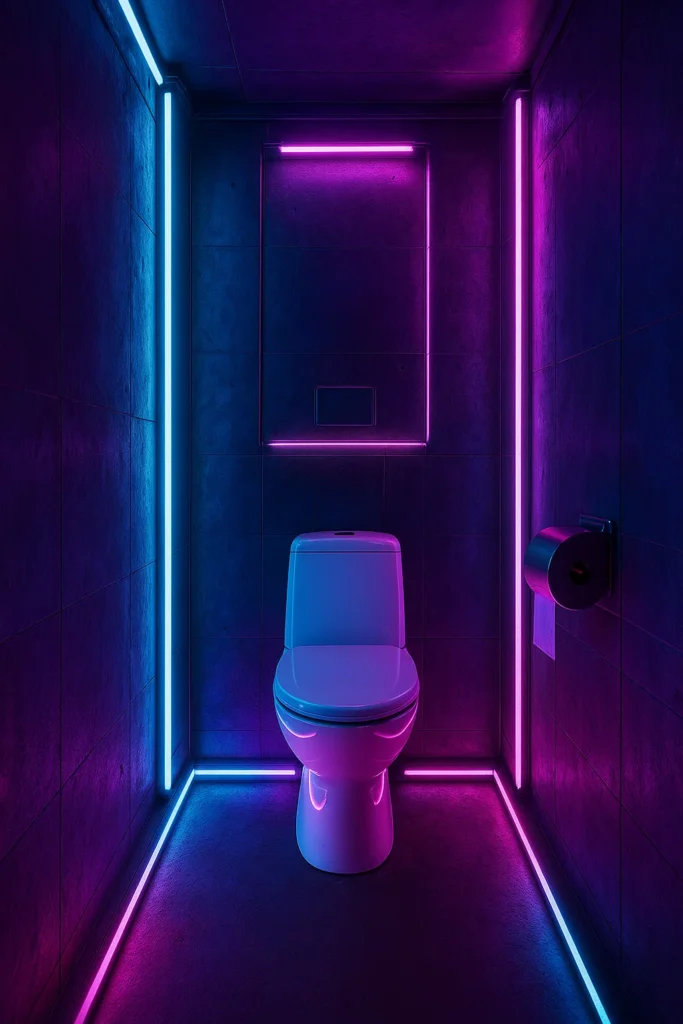
A comprehensive guide to creating professional bathroom models from scratch in SketchUp, featuring advanced V-Ray rendering techniques and photorealistic material setup.
Creating realistic bathroom interiors requires a systematic approach that combines precise modeling, strategic lighting, and sophisticated material work. This guide walks you through the complete process of building a bathroom from the ground up, covering everything from initial geometry to final post-processing in Photoshop.
Setting Up the Foundation
Establishing Room Dimensions
Start with basic measurements to create your bathroom shell:
- Base Rectangle: Create a 250cm x 300cm floor plan as your boundary
- Wall Construction: Draw 21cm thick walls at 323cm height
- Group Management: Make each element a separate group for easier editing
Pro Tip: Even without exact plans, working with approximate measurements helps establish realistic proportions that can be refined later.
Advanced Wall Techniques
Creating Wall Openings
For natural light integration:
- Section Tool: Use SketchUp’s section feature to cut openings
- Selective Deletion: Remove only the wall portions you want as windows
- Hidden Geometry: Keep wall structure for lighting calculations while making sections invisible in renders
This technique allows sunlight to enter your scene while maintaining architectural logic.
Perspective and View Management
Camera Settings Optimization
Adjust your viewport for better modeling:
- Field of View: Increase from 35° to 40-50° for wider perspective
- Caution: Higher angles (50°+) create distortion – use sparingly
- Scene Saving: Always save your preferred views before making major changes
Render Frame Setup
For professional output:
- Access V-Ray settings and enable Safe Frame
- Choose appropriate aspect ratio (16:9 for video, 1:1 for Instagram)
- Compose your shot within the visible frame boundaries
- Save scene with frame active for consistent rendering
Advanced Modeling Techniques
Creating Complex Floor Patterns
Multi-Surface Floor Design
- Division Strategy: Split floor into logical sections (wet/dry areas)
- Mathematical Precision: Use guidelines from midpoints for perfect centering
- Material Zones: Create separate surfaces for different material applications
Geometric Detailing
For sophisticated floor patterns:
- Offset Tool: Create recessed areas with 1-2cm depth variations
- Push/Pull with Ctrl: Maintain edge connections for seamless surfaces
- Component Creation: Make repeating elements into components for efficiency
Glass Partition Modeling
Shower Enclosure Construction
- Base Framework: Create rectangular opening in wall
- Glass Thickness: Model 1cm thick glass panels
- Proper Grouping: Ensure all glass elements are properly grouped
- Component Strategy: Use components for multiple identical elements
Ceiling and Lighting Integration
Recessed Lighting Setup
Spot Light Preparation:
- Circle Creation: Draw 3cm diameter circles for spot housings
- Depth Control: Push/pull to create 2cm recessed cavities
- Edge Refinement: Increase circle segments (48+) for smooth curves
- Component Conversion: Make spots into components for easy duplication
Strategic Placement:
- Position spots for even light distribution
- Consider architectural proportions
- Group multiple spots for simultaneous editing
Material Application Strategies
Tile and Stone Surfaces
Texture Mapping Workflow
- Source Materials: Download high-quality textures from textile.com or similar
- Scale Adjustment: Use Position tool to match real-world proportions
- Repetition Control: Adjust texture size to minimize obvious tiling
- Color Modification: Use SketchUp’s color overlay for variations
Advanced Material Techniques
Multi-Surface Application:
- Apply base material to all surfaces in a group
- Use component properties for uniform changes
- Create variations through color overlays
Wood and Natural Materials
Custom Material Creation
- Image Import: Load wood grain textures
- Positioning: Use Texture Position tool for proper orientation
- Scaling: Match texture size to realistic plank dimensions
- Grouping: Apply to entire surface groups for consistency
V-Ray Lighting Setup
Natural Light Configuration
Sun Light Optimization
Basic Settings:
- Multiplier: Increase from 1.0 to 2.0 for brighter interiors
- Size: Set to 100 for softer shadows
- Color Temperature: Use Override to prevent yellow tinting
Advanced Techniques:
- Enable Material Override for lighting tests
- Use white/neutral materials during light setup
- Focus on shadow quality and light distribution
Artificial Lighting Systems
IES Light Implementation
For realistic fixture lighting:
- Component Selection: Ensure light fixtures are components
- IES File Loading: Import manufacturer lighting data
- Lumen Values: Use realistic values (10,000-15,000 lumens for spots)
- Positioning: Place lights precisely within fixture geometry
Mesh Light Applications
Hidden Accent Lighting:
- Surface Selection: Choose geometry for light emission
- Color Control: Apply warm colors for ambient lighting
- Intensity: Start with 650 lumens and adjust for effect
- Grouping: Use groups for easy selection and modification
Camera and Exposure Control
Professional Camera Settings
Exposure Triangle:
- ISO: Increase to 300-400 for brighter scenes
- Shutter Speed: Reduce to 150 for more light
- Aperture: Lower f-stop for brighter, shallower depth of field
Quality Settings:
- Progressive Rendering: Disable for predictable render times
- Frame by Frame: Preferred over spreading render pattern
- Output Resolution: 800×800 minimum for detailed previews
Advanced Material Configuration
Glass Materials
Realistic Glass Setup
Essential Properties:
- Reflection: Moderate values for believable reflectivity
- Refraction: Higher values for transparency
- IOR: 1.6-1.8 for realistic light bending
- Color Tinting: Subtle blue tints for architectural glass
Specialized Glass Effects
Frosted Glass:
- Roughness: Increase reflection glossiness for diffusion
- Fog Color: Add subtle color tinting
- Transparency: Balance between privacy and light transmission
Ceramic and Porcelain
Bathroom Fixture Materials
Standard Ceramic:
- Base Color: Clean whites or desired tones
- Reflection: Moderate levels for realistic shine
- Bump Maps: Subtle surface variation for realism
Advanced Techniques:
- Reflection Glossiness: Adjust for different ceramic finishes
- IOR Control: Higher values for harder surfaces
Metal Finishes
Chrome and Brushed Metal
Chrome Setup:
- High Reflection: Near-maximum values
- Sharp Reflections: High glossiness settings
- Color: Neutral grays with slight blue tint
- IOR: 2.0+ for sharp reflections
Brushed Metal:
- Reduced Glossiness: 0.75-0.85 for brushed appearance
- Directional Patterns: Use bump maps for surface texture
Advanced Bump Mapping
Creating Surface Detail
Bump Map Workflow:
- Texture Duplication: Copy your diffuse texture
- Desaturation: Convert to grayscale using Color Correction
- Contrast Control: Adjust for appropriate bump intensity
- Value Setting: Start with 0.3-0.4 for subtle effects
Theory: Black areas appear recessed, white areas appear raised, creating the illusion of surface depth without additional geometry.
Post-Processing in Photoshop
Color Correction Workflow
Basic Adjustments
White Balance:
- Dropper Tool: Click on whitest area in image
- Automatic Corrections: Try auto levels for quick improvements
- Manual Fine-tuning: Adjust temperature and tint as needed
Advanced Corrections
Selective Adjustments:
- Highlights/Shadows: Balance extreme tones
- Midtone Contrast: Enhance detail visibility
- Saturation: Reduce if colors appear over-vibrant
- Sharpening: Add for final crispness
Material ID Workflow
Selective Editing Setup
V-Ray Material ID:
- Enable Material ID: Render separate ID pass
- Photoshop Selection: Use color range selection
- Layer Masks: Create targeted adjustment layers
- Individual Control: Adjust each material independently
This technique allows precise control over individual materials without re-rendering.
Bloom and Lighting Effects
Realistic Light Bloom
V-Ray Bloom Effect:
- Enable Bloom: Add realistic light spread
- Intensity: Start with 2-4 for subtle effects
- Size: Adjust for appropriate light dispersion
Post-Processing Enhancement:
- Gaussian Blur: Add glow to light sources
- Blend Modes: Use Screen or Linear Dodge for realistic light spill
Professional Workflow Tips
Efficiency Strategies
Component Management:
- Use components for repeated elements
- Make changes to one component to update all instances
- Group related components for easy selection
Material Organization:
- Test materials with simplified geometry first
- Use Material Override during lighting setup
- Create material libraries for future projects
Quality Control
Progressive Testing:
- Take frequent low-resolution test renders
- Verify lighting before adding complex materials
- Check proportions and scale throughout process
Final Validation:
- Review all materials for consistency
- Verify light sources are properly positioned
- Check for missing or incorrect textures
Creating professional bathroom visualizations requires attention to both technical precision and artistic vision. By following this systematic approach – from basic modeling through advanced material setup to final post-processing – you’ll develop the skills needed to produce compelling architectural visualizations.
The key to mastery lies in understanding each step’s purpose and practicing the workflow until it becomes intuitive. Start with simple projects and gradually incorporate more complex techniques as your confidence grows.
Remember that great visualization is about more than just technical skill – it’s about creating images that effectively communicate design intent and help viewers envision the finished space.


